Adding railings to an existing balcony is definitely possible, but it requires careful planning, adherence to local building codes, and attention to structural safety. Below is a step-by-step guide and key considerations:

1. Check Local Building Codes First
Before starting, verify your area’s regulations—codes vary by city/state/country and typically mandate:
- Railing height: Usually 42 inches (107 cm) for residential balconies (measured from the deck surface to the top of the railing).
- Baluster spacing: No more than 4 inches (10 cm) apart to prevent small children from slipping through.
- Load capacity: Railings must withstand a minimum horizontal force (e.g., 50 lbs/ft² in the U.S.).
- Material requirements: Some areas restrict flammable materials (like untreated wood) or require non-slip surfaces.
- Permits: Most jurisdictions require a permit for structural changes—failing to get one could result in fines or having to remove the railing.
2. Assess the Existing Balcony Structure
The balcony must support the weight of the new railing andany load (e.g., people leaning on it). Key checks:
- Foundation/joists: Is the balcony slab or floor joists strong enough? If the balcony is old (e.g., concrete with cracks, rotted wood), consult a structural engineer to confirm it can handle the added load.
- Anchoring points: Where will you attach the railing posts? Look for solid, reinforced areas (e.g., concrete columns, steel beams, or joists under the deck). Avoid hollow spots or areas with water damage.
3. Choose Railing Materials
Select materials based on durability, style, and code compliance:
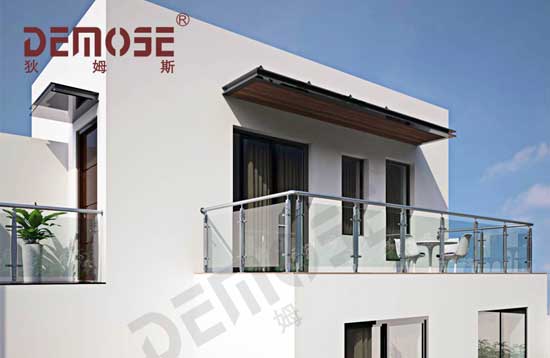
- Steel/aluminum: Strong, low-maintenance, and fire-resistant—great for modern looks.
- Glass panels: Sleek and open, but ensure tempered glass (required by most codes) and secure mounting.
- Wood: Classic style, but needs regular sealing/staining to prevent rot. Use pressure-treated lumber or hardwoods (e.g., cedar, redwood).
- Composite: Low-maintenance alternative to wood (mix of plastic and wood fibers).
4. Installation Steps (General)
a. Prepare the Base
- Clean the balcony surface (remove dirt, debris, or old coatings).
- If attaching to concrete, drill holes and install anchor bolts (e.g., wedge anchors or sleeve anchors) for posts. For wood joists, use metal brackets or lag screws.
b. Install Posts
- Secure posts first—they’re the backbone of the railing. Use a level to ensure they’re plumb (vertical).
- For metal posts: Weld or bolt to base plates anchored to the balcony.
- For wood posts: Attach to concrete with anchors or to wood joists with brackets.
c. Attach Railing Panels/Balusters
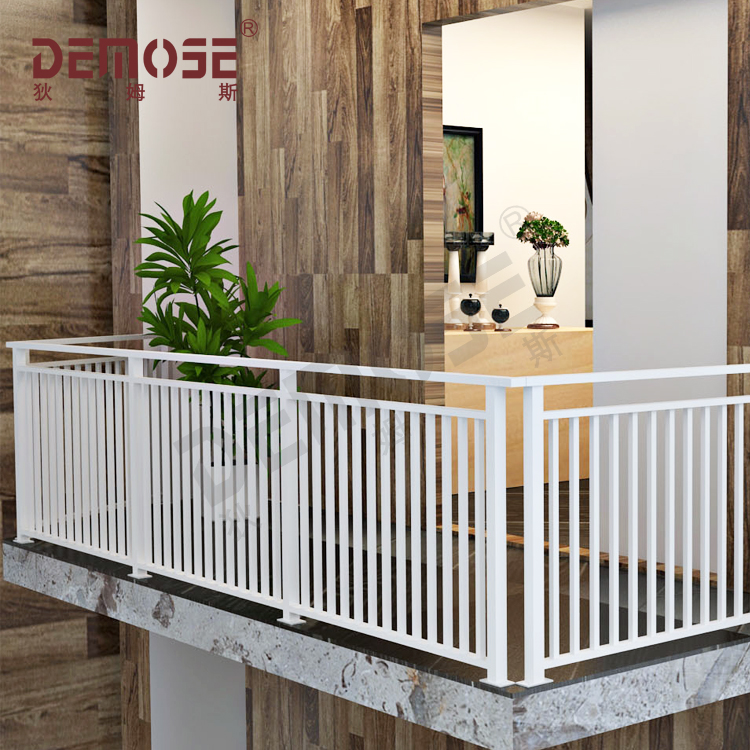
- Install balusters (vertical slats) or pre-made panels between posts.
- Ensure even spacing (follow code limits) and tight connections (screws, welds, or brackets).
d. Finish and Inspect
- Paint/stain wood or composite railings to match your home.
- Test the railing for stability (shake it—no wobbling allowed).
- Have a inspector verify compliance if required by your local code.
5. DIY vs. Hiring a Professional
- DIY: Feasible for simple railings (e.g., wood balusters on existing concrete posts) if you have basic tools and structural knowledge.
- Professional: Recommended if:
- The balcony structure is old or damaged.
- You need to cut into concrete/steel.
- Local codes require engineered plans.
- You’re uncomfortable with structural work.
Common Mistakes to Avoid
- Skipping the permit process.
- Using undersized posts or anchors (risks collapse).
- Ignoring baluster spacing (safety hazard for kids).
- Choosing non-compliant materials (e.g., untreated pine that rots quickly).
Final Tips
- Match the railing style to your home’s architecture (e.g., iron for Victorian, glass for modern).
- Add non-slip grips to metal or smooth wood railings for safety.
- Seal concrete or wood balconies before installation to prevent water damage.
By following these steps, you can add a safe, code-compliant railing to your existing balcony. Always prioritize professional input for structural concerns—your safety (and your family’s) is worth it!
Recent Posts
-
 Loft Stairs: Design Ideas, Styles, and Material Guide
 -
 Indoor Steel Structure Stairs: The Fusion of Strength and Style
 -
 Framed Glass Railing: A Guide to Style, Safety, and Durability
 -
 Curved Glass Staircase: The Pinnacle of Modern Architectural Design
 -
 Finding the Right Custom Stair Companies for Your Project